Now and then, we encounter maintenance issues in our homes that require immediate repairs. We can rely on the pros for that. But it can be costly, and the damage may be so minor that it won’t be worth the trouble of a handyman.
One part of our homes that may be the most susceptible to minor damages is the roof. Exposed to the elements, our roof endures so much that it bears “wounds” in the form of stains and tiny holes. These minor damages cause leaks, which can worsen and quickly become a major issue when neglected. Hence, it’s vital to learn DIY roof repairs to prevent more costly damages, even if you are about to get high-quality residential roofing from Miami or other cities soon.
That said, here are some minor roof issues you can easily spot and repair by yourself:
1. Small Leaks
A leak is the most common sign of various roof issues, such as holes, cracks, and poorly installed flashing. When locating a leak, check the roof penetrations first. These include vents, chimneys, dormers, or any objects that run through your roof.
If you have an attic, go up there to find the source of the leak. It could be a mold-infested or water-stained corner or frosted nails. On the other hand, if you don’t have an attic and your ceilings are high, you’d need a ladder to examine the problem.
In an instance where the leak source is difficult to find, go up to the roof with a garden hose. Drench the spot above where the leak appears and isolate the areas where you’ll run the hose. Ask an assistant to stay inside the house and watch for the leak. Let the water run from the hose for a few minutes before moving on to the next area. Ask your assistant to alert you when they finally see the leak. That’s a sign that you’re near its source, so do your inspection there. Remove shingles if you have to because more evidence leading to the source of the leak may hide in there.
2. Missing Kick-Out Flashing

The source of a leak could be a missing kick-out flashing, which is a metal sheet that is applied at the point where the roof meets a sidewall. Without a kick-out flashing, rainwater or melted snow may seep through the sidewall, causing rots that eventually lead to leaks. If neglected, the rot may also destroy the sheathing and the framing, leaving only the concrete to hold up your wall.
Fortunately, installing a kick-out flashing is pretty simple. Acquire a new kick-out flashing from any roofing supplies store. Install it by lifting the bottom shingle and inserting half of the kick-out flashing underneath. Nail or glue the other half to the sidewall. If your roof has an existing kick-out flashing, insert the replacement beneath it. Note that this task may turn out to be complicated because of the type of your sidewall, so in some cases, you may require a pro’s assistance.
3. Roof Stains
After getting your roof leaks fixed, the stains it left has to be cleaned. Prepare a garden hose, garden spray nozzle, non-corrosive roof cleaner, and supplemental water pump. Wear a full-body safety harness, too.
For a faster cleaning process, use a special sprayer instead of a garden spray nozzle. Pour in the roof cleaner into the special sprayer, then proceed to spray the product all over the shingles. Soak thoroughly until you see run-offs.
Rinse your roof with the garden hose using slow and even strokes. If the staining is severe, you’d need a specialized rinsing tool to remove them or hire pros for your convenience.
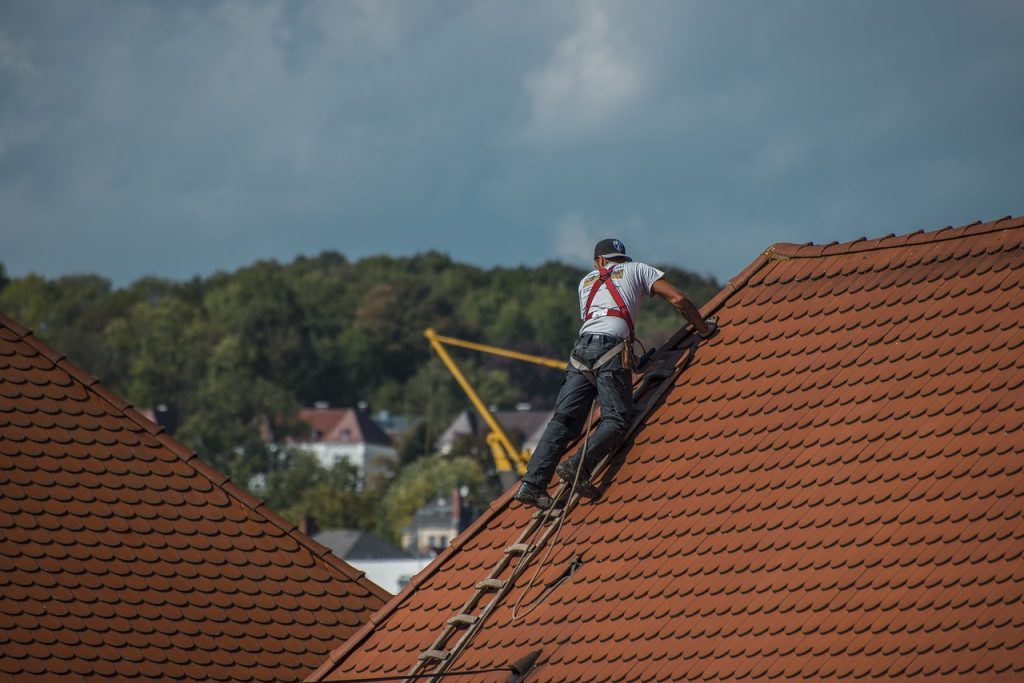
Mind that repairing a roof can be dangerous, so always wear safety equipment to prevent injury. If you’re not confident that you’d survive the height, better call in pros instead of risking your safety.

