We commonly associate art project ideas with kids who are on a vacation and have a lot of free time, but sometimes, adults need some tips, too, especially if they’ve just discovered the hobby of making art. Arts are a brilliant way for anyone to de-stress and have fun, regardless of their age.
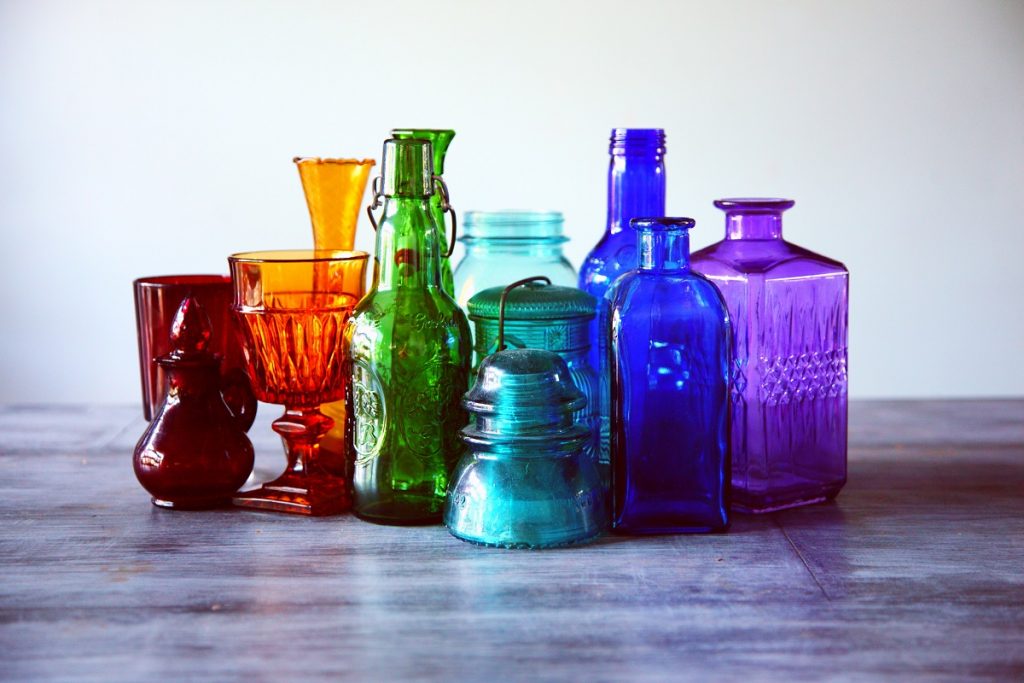
That said, whether you just stumbled upon this blog or searched for it on purpose, it likely means either way that you’re trying out this “grown-up” art project: stamping on your glassware collection. It sounds intimidating, especially if you’re about to work on antique and expensive pieces, but you shouldn’t be afraid of flaws. A smeared ink or a few stray droplets may even add more personality to your glassware, and that’s just what we’re after.
So here’s a guide on how to stamp on glass, along with a few things you need to know about stamp inks:
Making a DIY Stamp
A rubber stamp isn’t totally necessary when you’re stamping on glass and other surfaces. You can make a DIY stamp out of your everyday materials, including a potato.
Any object that’s textured and reasonably flat can be used as a stamp. So how does a potato pass as “textured” and “reasonably flat”? Simply slice it in thick portions, and press a cookie cutter to the exposed flat surface. Cut the remaining potato pieces outside the cookie cutter to bring the shape out, and voila! You can now apply ink to your potato stamp.
If you have some radicchio lettuce in your fridge, those would make pretty floral patterns on your glassware. Cut the base of the stalk and use it as your stamp. You can also do it on celery and other leafy vegetables, as they would make interesting patterns as well.
Using feathers and leaves are also great, and relatively easier because no cutting needs to be done. Simple dip or paint them with the stamp ink, and they’re good to go.

How to Choose an Ink
When you shop for inks, you may get overwhelmed by the range of options you’ll have. But if you’re stamping on a nonporous surface like glass, it’s advised to opt for a high-quality StazOn ink pad or any other solvent-based ink, because they adhere to glass, plastic, metal, acrylic, other surfaces that don’t require regular washing.
Take note that most solvent inks are transparent, though, but StazOn and other excellent brands have an opaque line, so if you want a solid color finish on your glasses, be sure to pick an opaque solvent ink.
Stamping on Glass
Stamping on glass is unsurprisingly easy. Wash your glassware first with warm, soapy water, and as they’re drying, prepare your stamps and ink. It’s recommended to have a stamp cleaner as well, or just alcohol if you don’t have one.
When your glassware is all dried up, pick one and start stamping. Just press your rubber or DIY stamp on the ink pad, then press it on the glass, using a gentle rolling motion. Keep the glass very still so the ink wouldn’t smudge.
If you’re not so impressed with the results, you can simply erase it with the stamp cleaner or alcohol and try again. It’s not easy to make it perfect, so don’t mind the little flaws. Just try repeatedly until you achieve your desired results, and let the ink air-dry.
You may get tired from trying to keep the glass still, so take breaks from time to time. Again, don’t try to achieve perfection, because what’s more important is having fun. Once your lovely stamped glassware is already displayed, the imperfections will be a story to tell, the art reflecting the person behind it.